I had to replace the driver side ball joints on my F350 today, and figured it'd be a good topic for a tutorial. So, here goes.
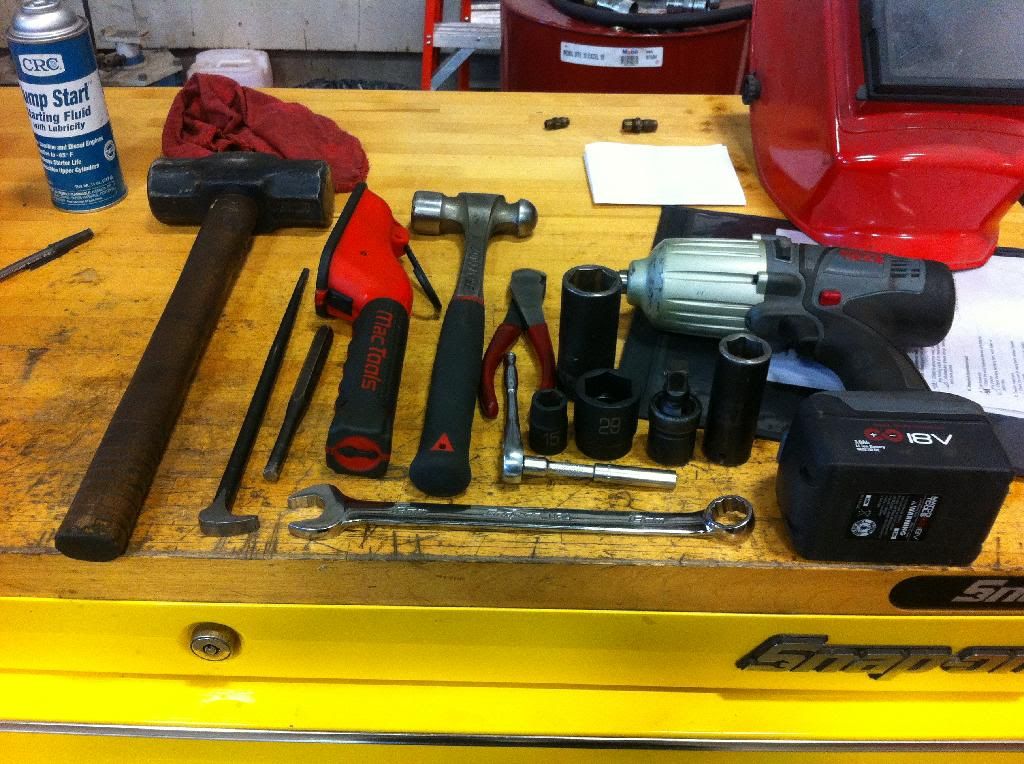
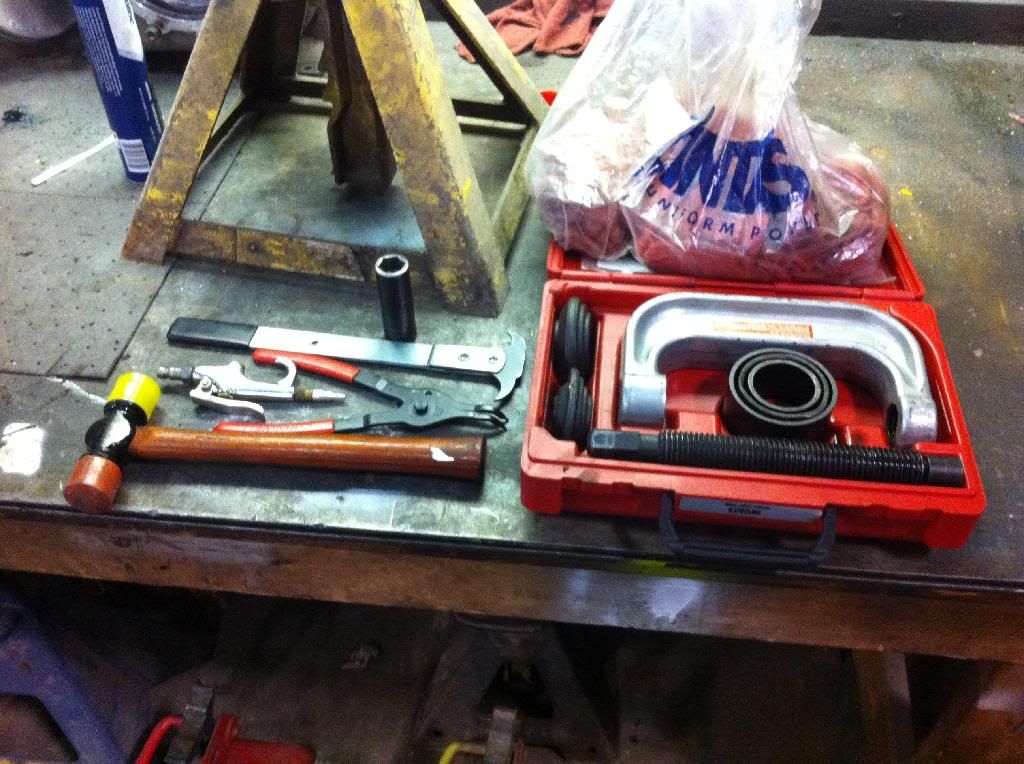
The first 2 pics are a rough idea of the tools you'll need. It's not a bad job if you only have hand tools, but a pneumatic or battery-powered impact gun make it a lot easier and faster. I also cleaned, inspected, and repacked the wheel bearings, which I'm not going to get into here. Some of the tools shown are for that job.
![]()
![]()
The first step is to jack and support the front end. I only lifted one side, the twin I-beams are somewhat difficult to lift evenly because of the spacing between the I-beams and because the pivot point is off-center. I usually leave the jack underneath the vehicle as a safety feature in case the jackstand fails. Remove the wheel & tire.
The next thing you have to do is remove the brake caliper. This is held in place by 2 "pins" that slide into grooves in the caliper and adapter. The pins are sheet metal wedges with a rubber center, and are driven out with a hammer & punch. You can see one of the pins just about dead center in the pic.
![]()
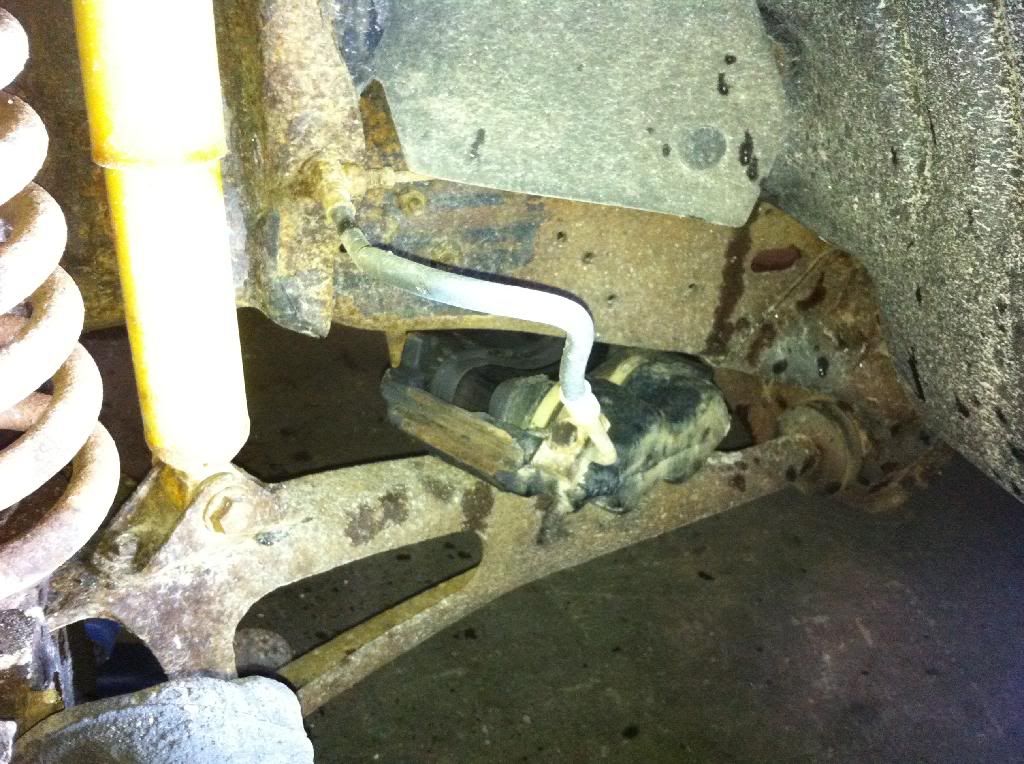
Using a prybar or hammer, slide the caliper off the rotor and out from the adapter ears, and secure out of the way. Don't let it hang by the flex hose. I like to wedge them between the trailing arm and frame.
![]()
Remove the wheel bearing dust cap. I use the foot end of a ladyfoot prybar and a hammer to get behind the dust cap flange and knock it loose.
![]()
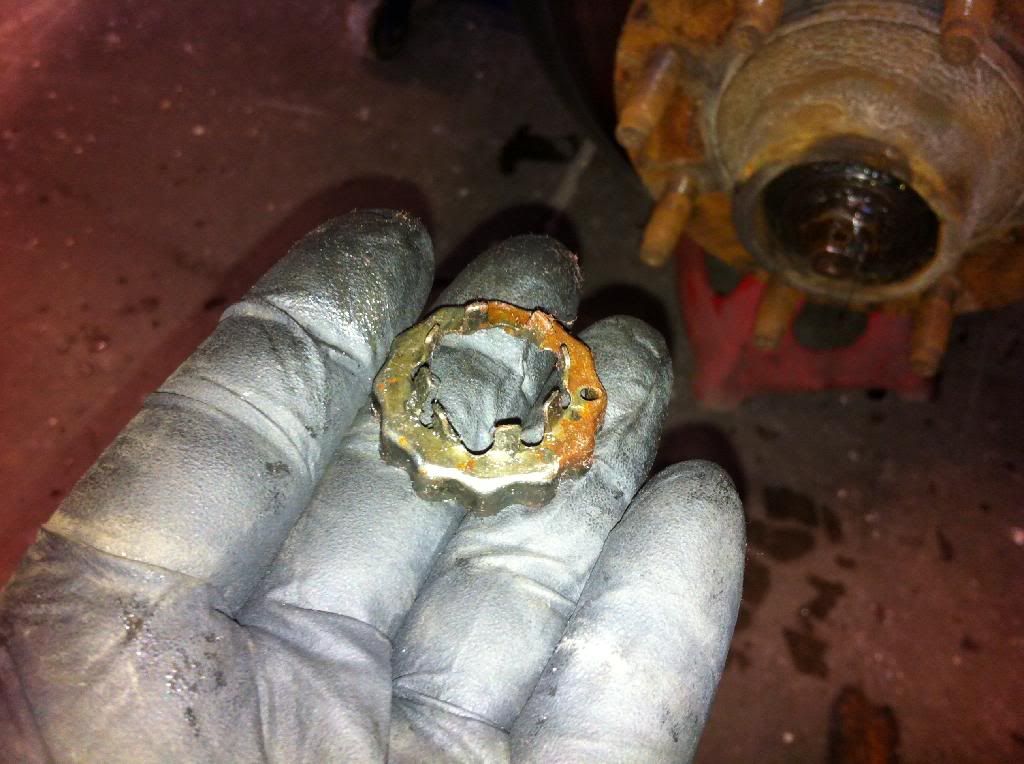
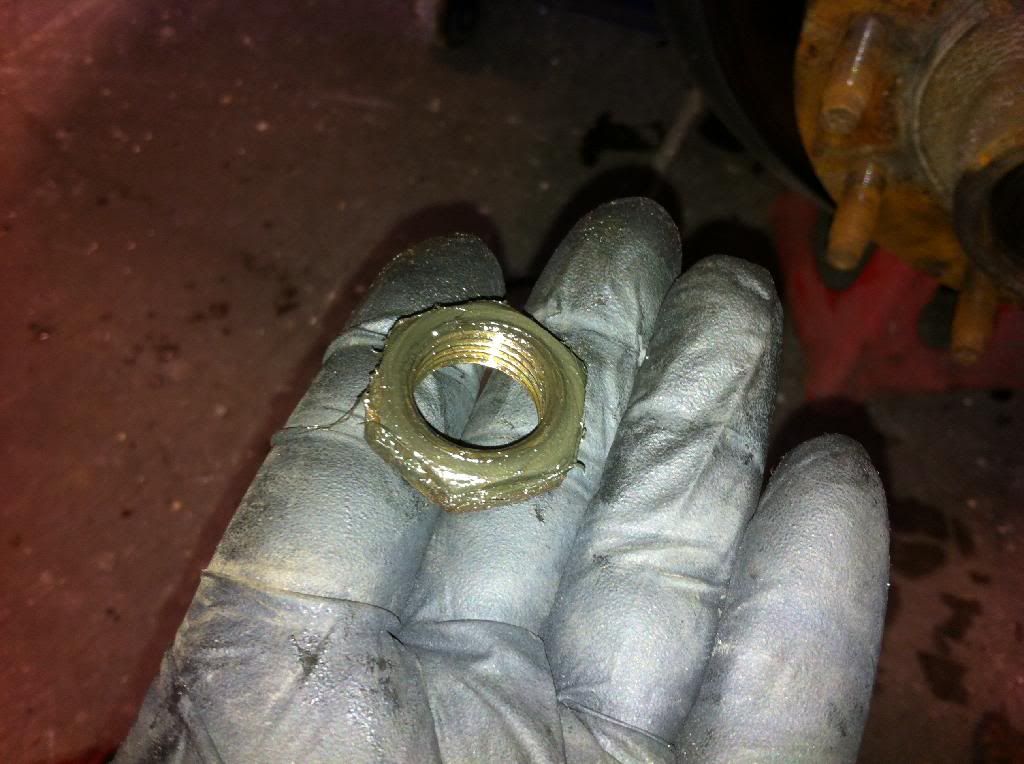
Straighten the cotter pin and pull it out. Remove the lockwasher, and remove the adjusting nut using a ratchet and 1 1/16" socket. The outer wheel bearing can fall out now, so cup your hand underneath it to keep it from falling out and being damaged when it hits the ground.
![]()
![]()
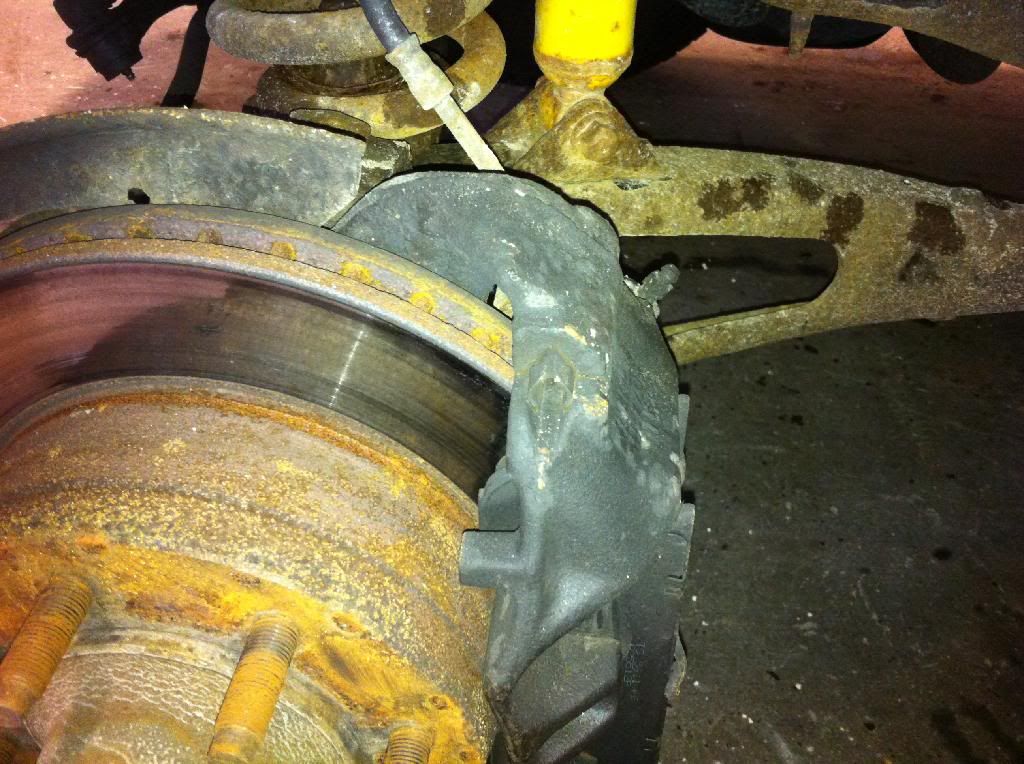
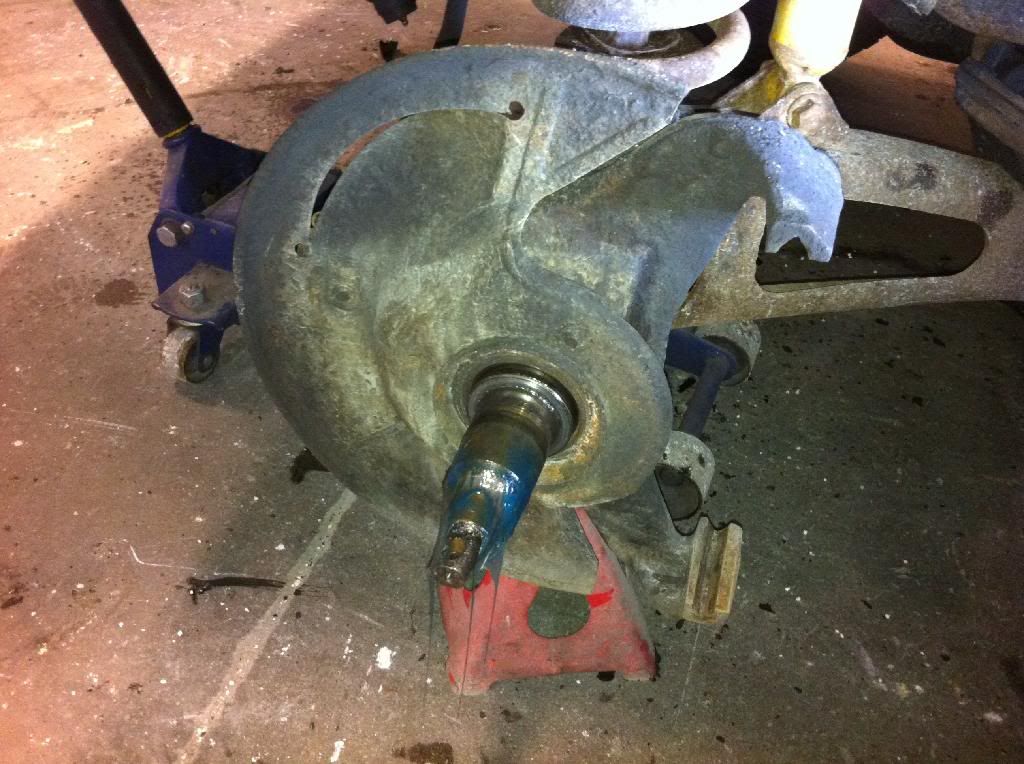
Pull the hub & rotor assembly off and set it aside. You're looking at the spindle with dust shield installed. The dust shield comes off next, with a ratchet and 8mm socket. There are 3 bolts, at approx 12, 6, and 9 o'clock.
![]()
![]()
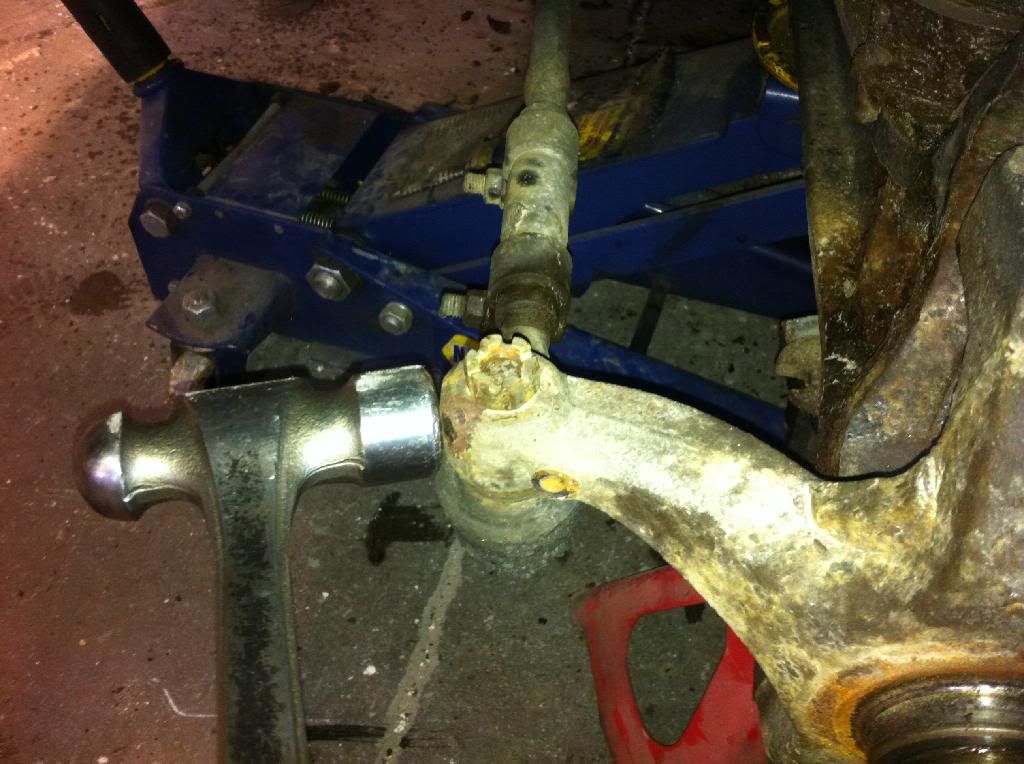
Remove the cotter pin from the tie rod end, loosen the castle nut most of the way (13/16" socket on mine), and whack the spindle ear with a hammer as shown a few times. This will free up the ball stud without tearing up the boot like a pickle fork does. Remove the castle nut, slide the tie rod out of the way, and thread the nut onto the ball stud for safe keeping.
![]()
The first 2 pics are a rough idea of the tools you'll need. It's not a bad job if you only have hand tools, but a pneumatic or battery-powered impact gun make it a lot easier and faster. I also cleaned, inspected, and repacked the wheel bearings, which I'm not going to get into here. Some of the tools shown are for that job.
The first step is to jack and support the front end. I only lifted one side, the twin I-beams are somewhat difficult to lift evenly because of the spacing between the I-beams and because the pivot point is off-center. I usually leave the jack underneath the vehicle as a safety feature in case the jackstand fails. Remove the wheel & tire.
The next thing you have to do is remove the brake caliper. This is held in place by 2 "pins" that slide into grooves in the caliper and adapter. The pins are sheet metal wedges with a rubber center, and are driven out with a hammer & punch. You can see one of the pins just about dead center in the pic.
Using a prybar or hammer, slide the caliper off the rotor and out from the adapter ears, and secure out of the way. Don't let it hang by the flex hose. I like to wedge them between the trailing arm and frame.
Remove the wheel bearing dust cap. I use the foot end of a ladyfoot prybar and a hammer to get behind the dust cap flange and knock it loose.
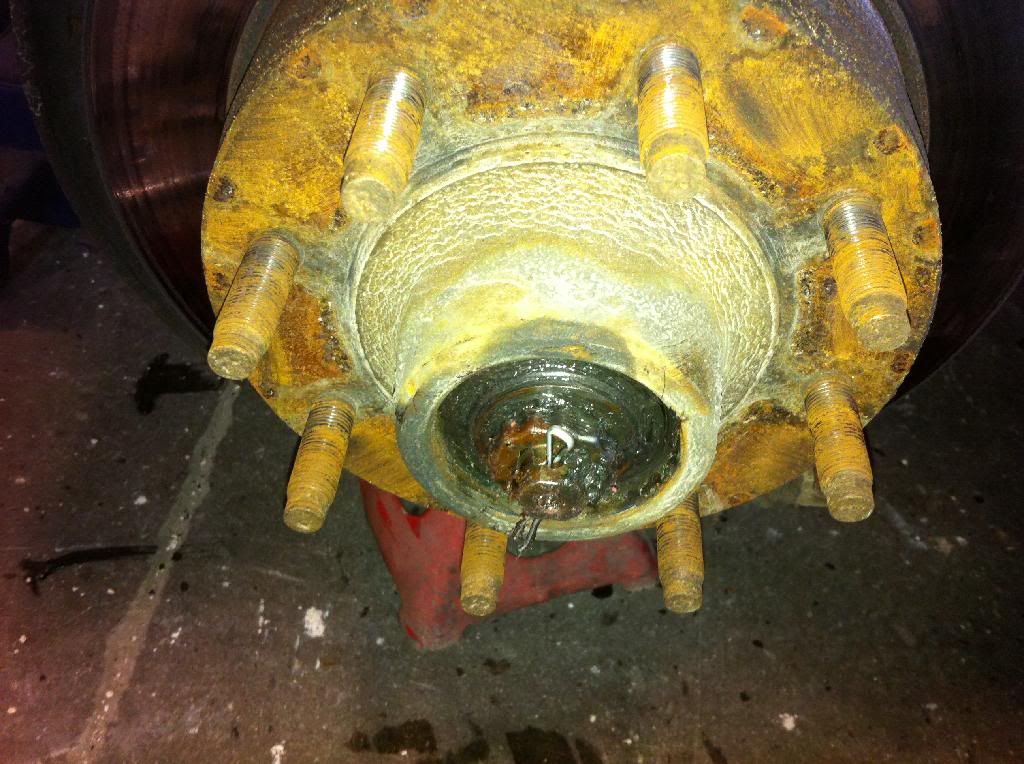
Straighten the cotter pin and pull it out. Remove the lockwasher, and remove the adjusting nut using a ratchet and 1 1/16" socket. The outer wheel bearing can fall out now, so cup your hand underneath it to keep it from falling out and being damaged when it hits the ground.
Pull the hub & rotor assembly off and set it aside. You're looking at the spindle with dust shield installed. The dust shield comes off next, with a ratchet and 8mm socket. There are 3 bolts, at approx 12, 6, and 9 o'clock.
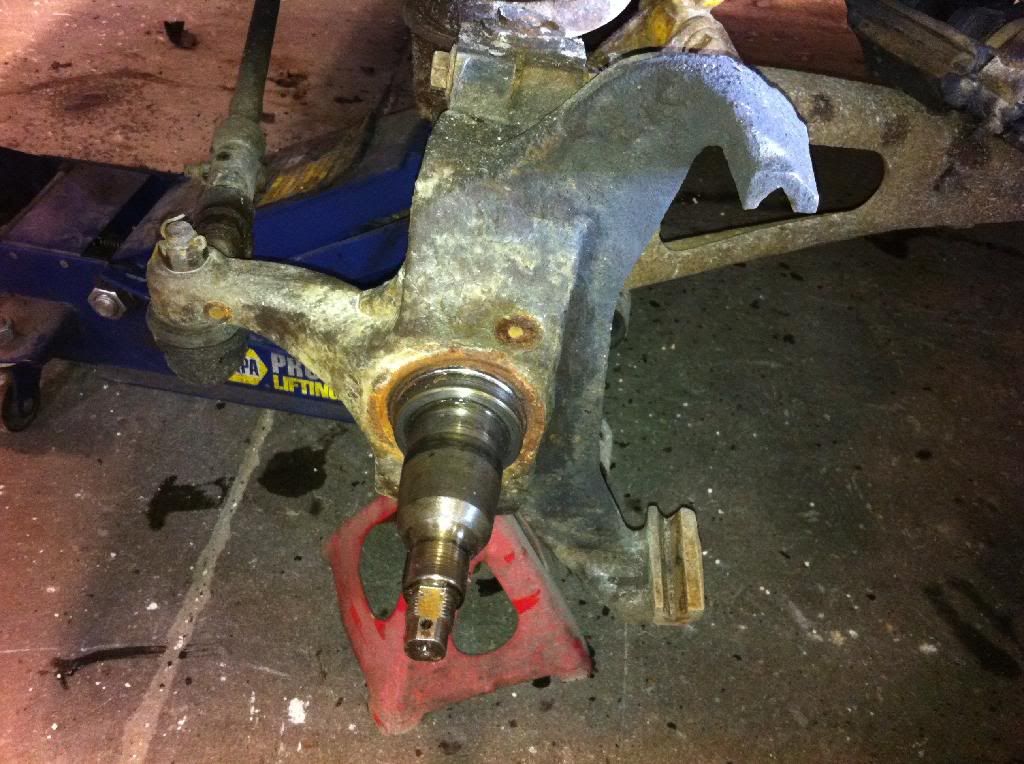
Remove the cotter pin from the tie rod end, loosen the castle nut most of the way (13/16" socket on mine), and whack the spindle ear with a hammer as shown a few times. This will free up the ball stud without tearing up the boot like a pickle fork does. Remove the castle nut, slide the tie rod out of the way, and thread the nut onto the ball stud for safe keeping.